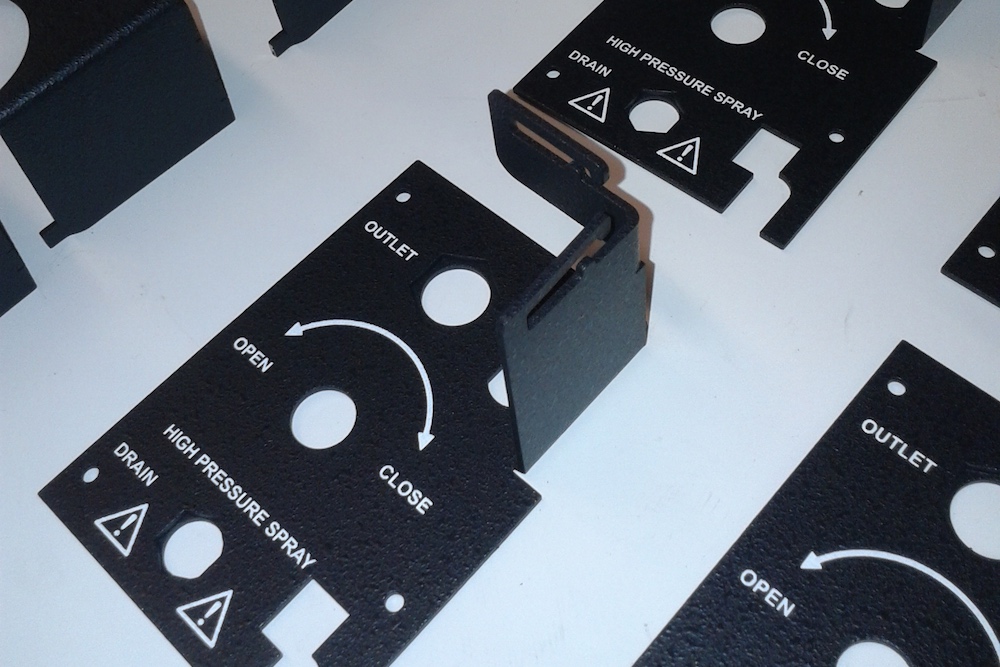
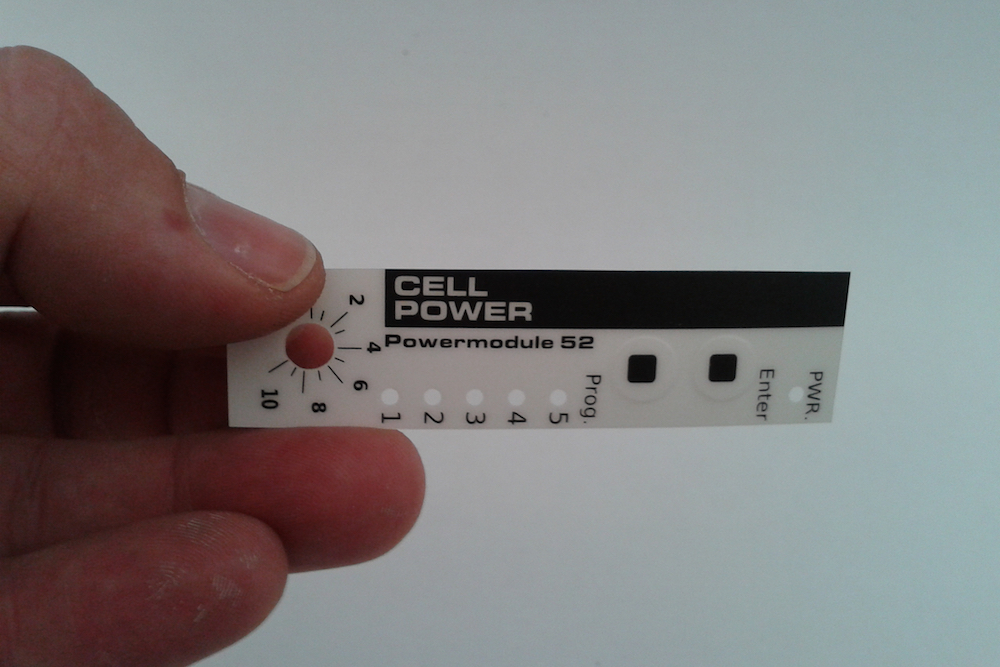
Screen70 produces graphic-overlays which can be sticked to the frontpanels of machines and equipment. e.g. vending-machines, audio equipment, medical equipment and so on. Production of such custom graphic overlays is one of the main specialties of Screen70 zeefdruk.
Next to screenprinting and digital printing, we also have the required production tools in house for lasercutting, hot-stamping, die-cutting and so on. The products might also be called front-plates, control-plates, face-plates or name-plates.
How are graphic-overlays produced
The graphic overlays are made of polycarbonate or polyester, depending on it use. If you need tactile feedback-domes, we use polyester. We use a screenprinting process for production. Digital printing is also possible, especially for prototypes, but less usual for series production of frontpanels. Screenprinting delivers the needed professional quality, chemical resistance, and true PMS colours.
Most graphic overlays have a matte or sand-finish on the topside. This structured surface prevents visibility of fingerprints and annoying reflections. It provides the needed professional look. Printing takes place on the backside of the transparent material. This results in maximum damage-protection, chemical resistance, and protection against fading of colours. Further, using a transparent material enables visibility of the displays and leds, without having to make cut-outs. First the text or logo is printed than the background, and finally the glue. A silicone- sheet is applied and finally the overlay will be cut in its shape.

Design of graphic overlays
We can design graphic overlays if you provide the drawings of the construction underneath. The least you sent is a mechanical drawing of the frontpanel, and a rough drawing of the wanted design. If needed you can design your own frontpanels, using a third-party program like frontdesigner, or even more sophisticated, using Illustrator. Most of our customers provide a professional illustrator file, instantly usable for our production.
Which material can be used for graphic overlays
As mentioned, professional graphic overlays are made of polyester or polycarbonate. The total thickness including glue and ink is approx 350 microns. The finishing on the frontside is sand-matte and matte at the backside. Different finishings are available. Our default foil provides a certain kind of attachment of ink, and appearance of the picture. We regard this as the optimum for the purpose. If an embossing is needed, we will choose polyester for this is stronger than polycarbonate. For less high-end products it is also possible to just attach a (sand-finished) sticker on the frontpanels The total thickness including glue and ink is approx 350 microns. It looks like a professional frontpanel, but the quality is less. Advantage is the lower price. The foil will be digitally printed, and the advantage of this is the lower start-up costs.
The total thickness including glue and ink is approx 350 microns.
RVS simulation foil
Our new products is the stainless steel simulation foil. This is a brushed polyesterfoil met which can be printed from the backside, and after this, it looks just like stainless steel but wit hte advantage of lower costst. Of course the printing can be combined with printing of text and logo’s . The print is protected for it takes place on the backside.
Window spot lacquer
Sometimes if a display shall be visible , we need to print a layer of transparent lacquer on the frontside to enable displays to be better visual.
The graphic overlay is default hindering a clear sight on the display because of its sand-matte frontstructure, The lacquer is very clear and scratch resistant. however, man can always see a bit of the orignal surface structure, but this is accepable.
If the display is closer than approx 3 mm to the graphic overlay film, it might not be needed to use layers for the display might be good enough visible.

Textured surface on graphic overlays
When a big part of the front is occupied by a display, we use a glossy transparent foil which we print with a texture-laquer at the non-display areas. This laquer feels somewhat rough and it revents fingerprints and looks professional. Advantage of this method is that het display-glass stays absolute glossy and clear. Further the messages, logo’s text and glue will be added on the backside as mentioned before.
Embossing for switches
When a switch needs a noticable bump we call this an emboss. When it is a dent, it is called a deboss. A switch behind the graphic overlay is switched if the emboss will be pressed. The switch needs to have a small travel . We use polyester foil if we need to create the emboss. Polycarbonate works as well, but wit a shorter lifetime.

Gluing of graphic overlays
There are several glue types to choose from, depending of the product the overlay will be sticked on, and the specific demands regarding e.g. temperature, moist and so on.
We often choose macbond, or 3m 467 of 3m 468. Also there is a flexible glue available (acrylic foam) Sometimes we cut the foils before attaching it to the graphic foil. We use a lasercutter or a flatbedplotter for this.
(Let me take the opportunity to thank our friends from New Tech Services to help us out with some issues regarding this cutting process.)
Another method is to print glue with sceenprinting. In both cases glue apertures can be added on the display- and switch locations.
Direct printing of housings or frontpanels
You can also choose to let your parts print directly on the parts themselves.
Disadvantage here is the volume of the shipment, especially if it concens a bigger shipment. However, the result is very professional.


